How to Conduct a DIY Coating Inspection: A Step-by-Step Tutorial


Understanding the Importance of Coating Inspections
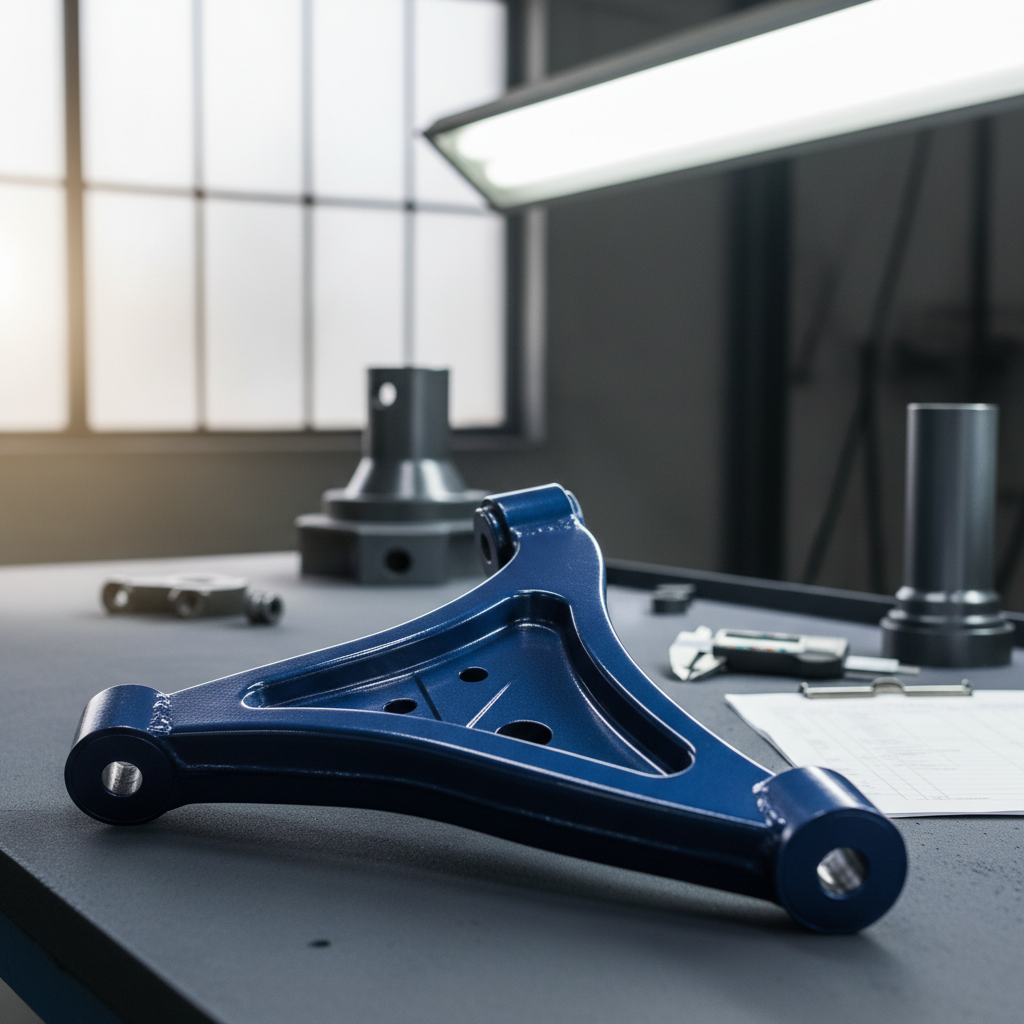
Coating inspections are crucial for maintaining the integrity and longevity of surfaces exposed to various environmental stresses. Whether it’s metal, wood, or concrete, regular inspections help identify potential issues early, saving you time and money in the long run. Conducting a DIY coating inspection can be a cost-effective way to ensure your surfaces are in optimal condition.
In this tutorial, we’ll guide you through the essential steps to perform a thorough DIY coating inspection. With the right tools and a systematic approach, you can confidently assess the condition of your coatings and address any concerns before they escalate.
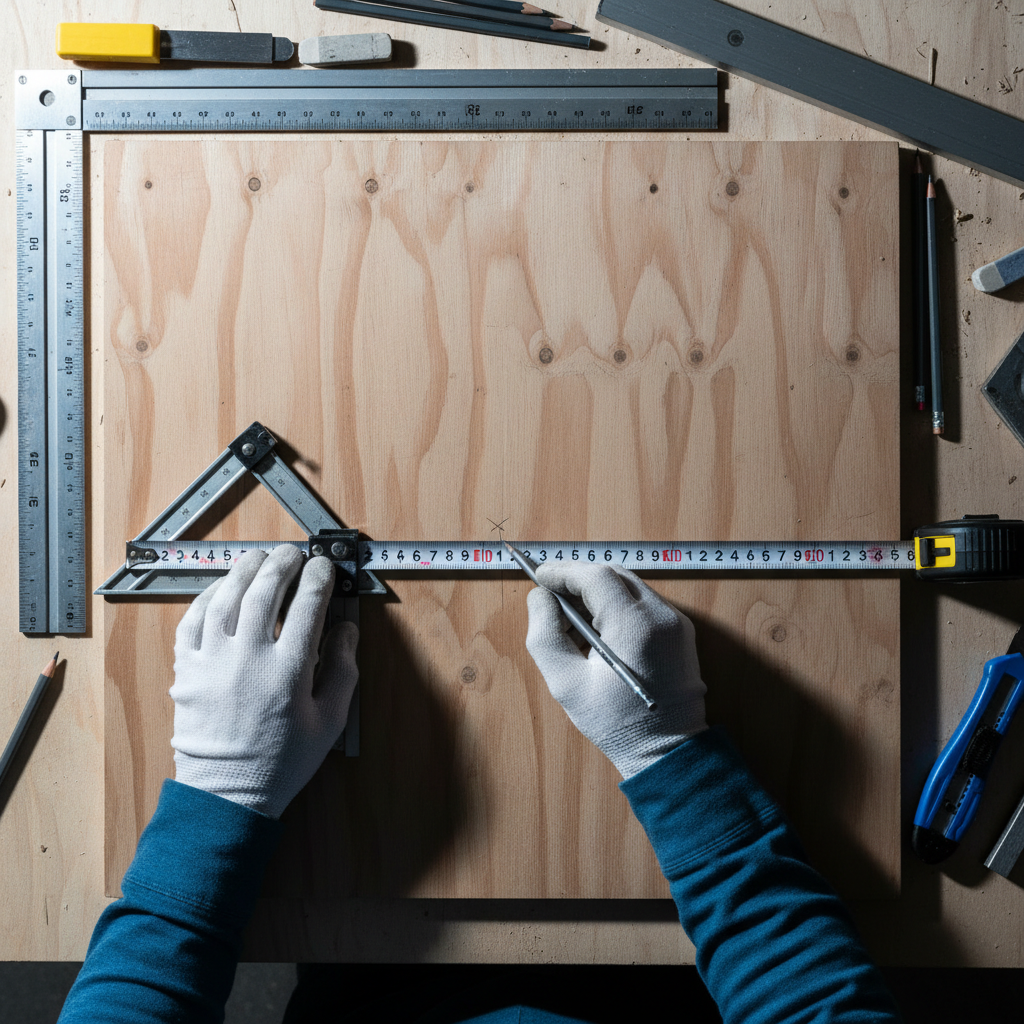
Gathering Your Tools and Materials
Before starting your inspection, you need to gather the necessary tools. Having the right equipment on hand will make the process smoother and more efficient. Here’s a list of essential tools:
- Magnifying glass: For close-up inspection of surface details.
- Coating thickness gauge: To measure the thickness of the coating.
- Flashlight: To illuminate hard-to-see areas.
- Camera: To document any issues found during the inspection.
Ensure all tools are in good working condition before you begin. This will help you conduct a more accurate and efficient inspection.
Preparing the Inspection Area
Once you have your tools ready, it’s time to prepare the inspection area. Make sure the surface you’re inspecting is clean and free of debris. This will allow you to see the coating clearly and identify any problems without obstruction.
Ensure there is adequate lighting in the area. Good lighting is essential for spotting defects such as cracks or blisters in the coating. If natural light is insufficient, use additional lighting sources to brighten the space.
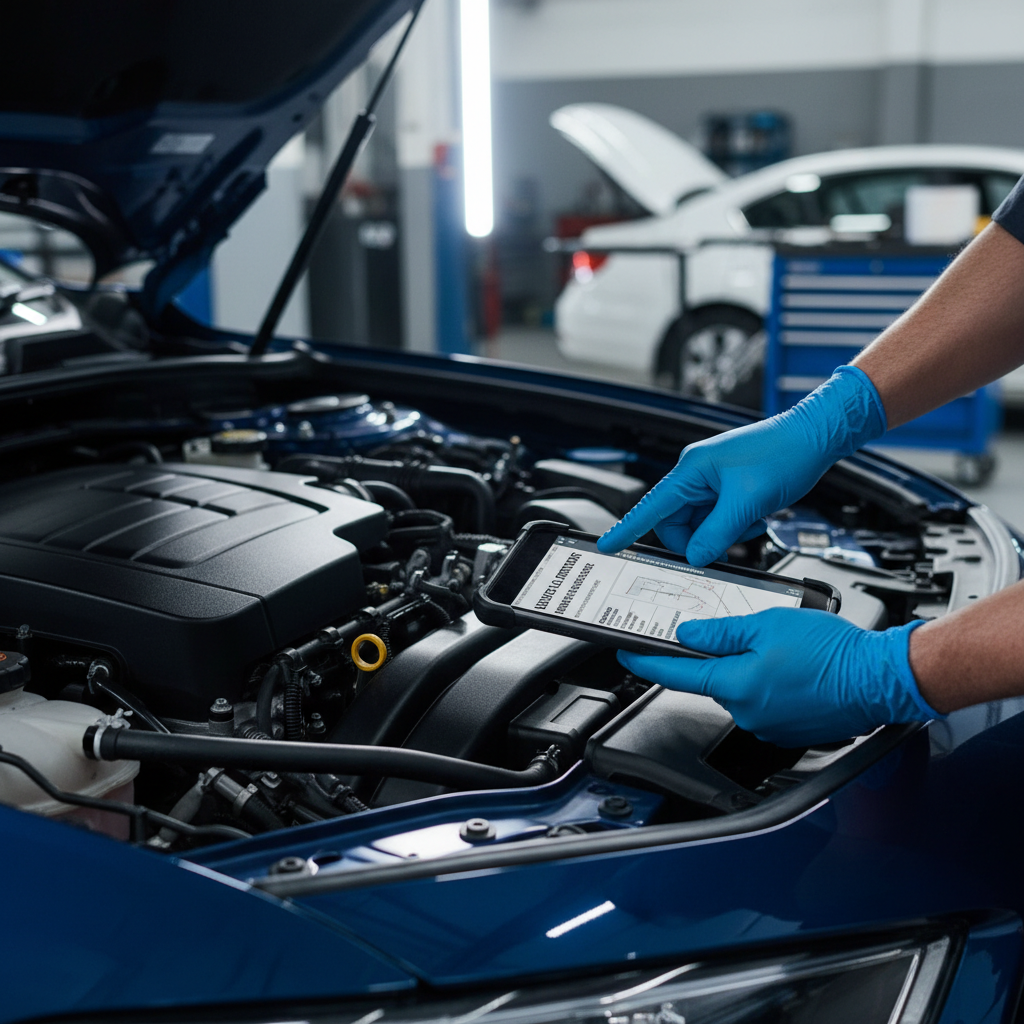
Conducting the Visual Inspection
Start your inspection by visually examining the entire surface. Look for any obvious signs of damage such as cracks, peeling, or discoloration. Use your magnifying glass to get a closer look at suspicious areas. Pay special attention to corners and edges, as these are common spots for wear and tear.
Document any issues you find with your camera. Taking photos allows you to track changes over time and provides a visual record that can be useful for future reference or professional consultations.
Measuring Coating Thickness
Next, use a coating thickness gauge to measure the coating’s thickness in several areas. This will help you determine if the coating is wearing away unevenly or is thinner than it should be. Compare your measurements to the manufacturer’s specifications to ensure the coating is within the recommended range.
Identifying Common Issues
During your inspection, you may encounter common coating issues such as:
- Blistering: Bubbles on the surface, often due to moisture or improper application.
- Cracking: Lines or breaks, which can indicate structural issues or aging.
- Peeling: Coating separating from the surface, often due to poor adhesion.
Understanding these issues will help you decide on the necessary repairs or preventative measures.
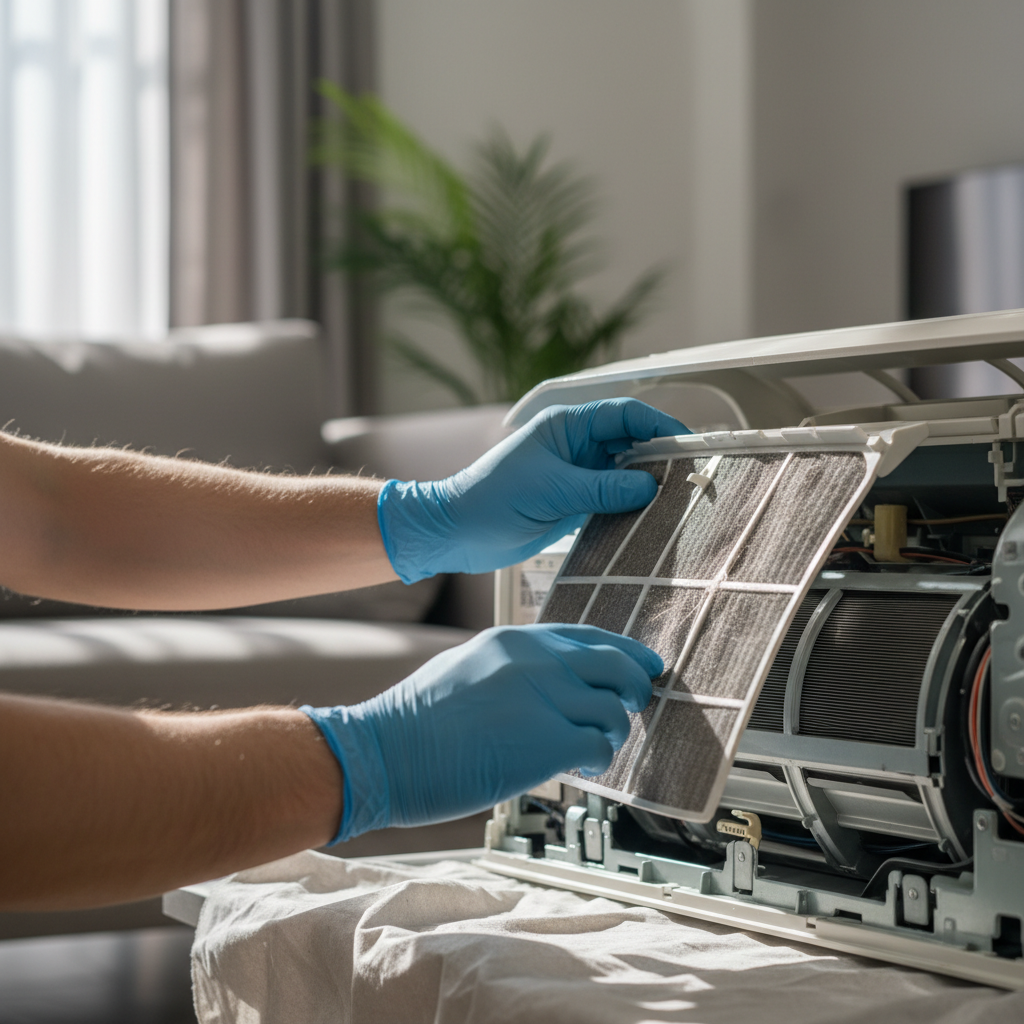
Taking Action Based on Your Findings
Once you have completed your inspection and documented any issues, it’s time to take action. Minor issues can often be addressed with touch-up applications or by applying a new coat. More severe problems may require professional intervention.
Regular inspections and maintenance can significantly extend the life of your coatings, preserving the appearance and functionality of your surfaces.
Conclusion
Conducting a DIY coating inspection is a valuable skill that can save you money and time. By following the steps outlined in this tutorial, you can effectively assess and maintain the condition of your coatings. Remember that consistent maintenance is key to prolonging the life of your surfaces and avoiding costly repairs.
Embrace the process, and soon it will become a routine part of your maintenance strategy, ensuring your surfaces remain protected and looking their best.