DIY Coating Inspection Tips for Small Projects


Understanding Coating Inspection
When embarking on a DIY project that involves coatings, such as painting or varnishing, it's crucial to ensure that the coating is applied correctly. Coating inspection is an essential step in any project to ensure durability and aesthetics. By inspecting your work, you can catch potential issues early, saving time and resources in the long run.
Coating inspection involves checking the surface preparation, application, and curing phases. Each phase has its unique set of standards and techniques that need meticulous attention. This guide will provide you with practical tips to effectively inspect coatings for small projects.
Preparing the Surface
Before applying any coating, surface preparation is critical. A well-prepared surface ensures better adhesion and longevity of the coating. Here are some steps to follow:
- Clean the Surface: Remove any dirt, grease, or old paint using appropriate solvents or detergents.
- Sand the Surface: Use sandpaper to create a rough texture for better adhesion.
- Check for Defects: Inspect for cracks or holes and repair them before proceeding.
After preparing the surface, it's vital to check it visually and by touch to ensure it is ready for coating. Remember, a poorly prepared surface can lead to bubbling or peeling of the coating.
Application Inspection Tips
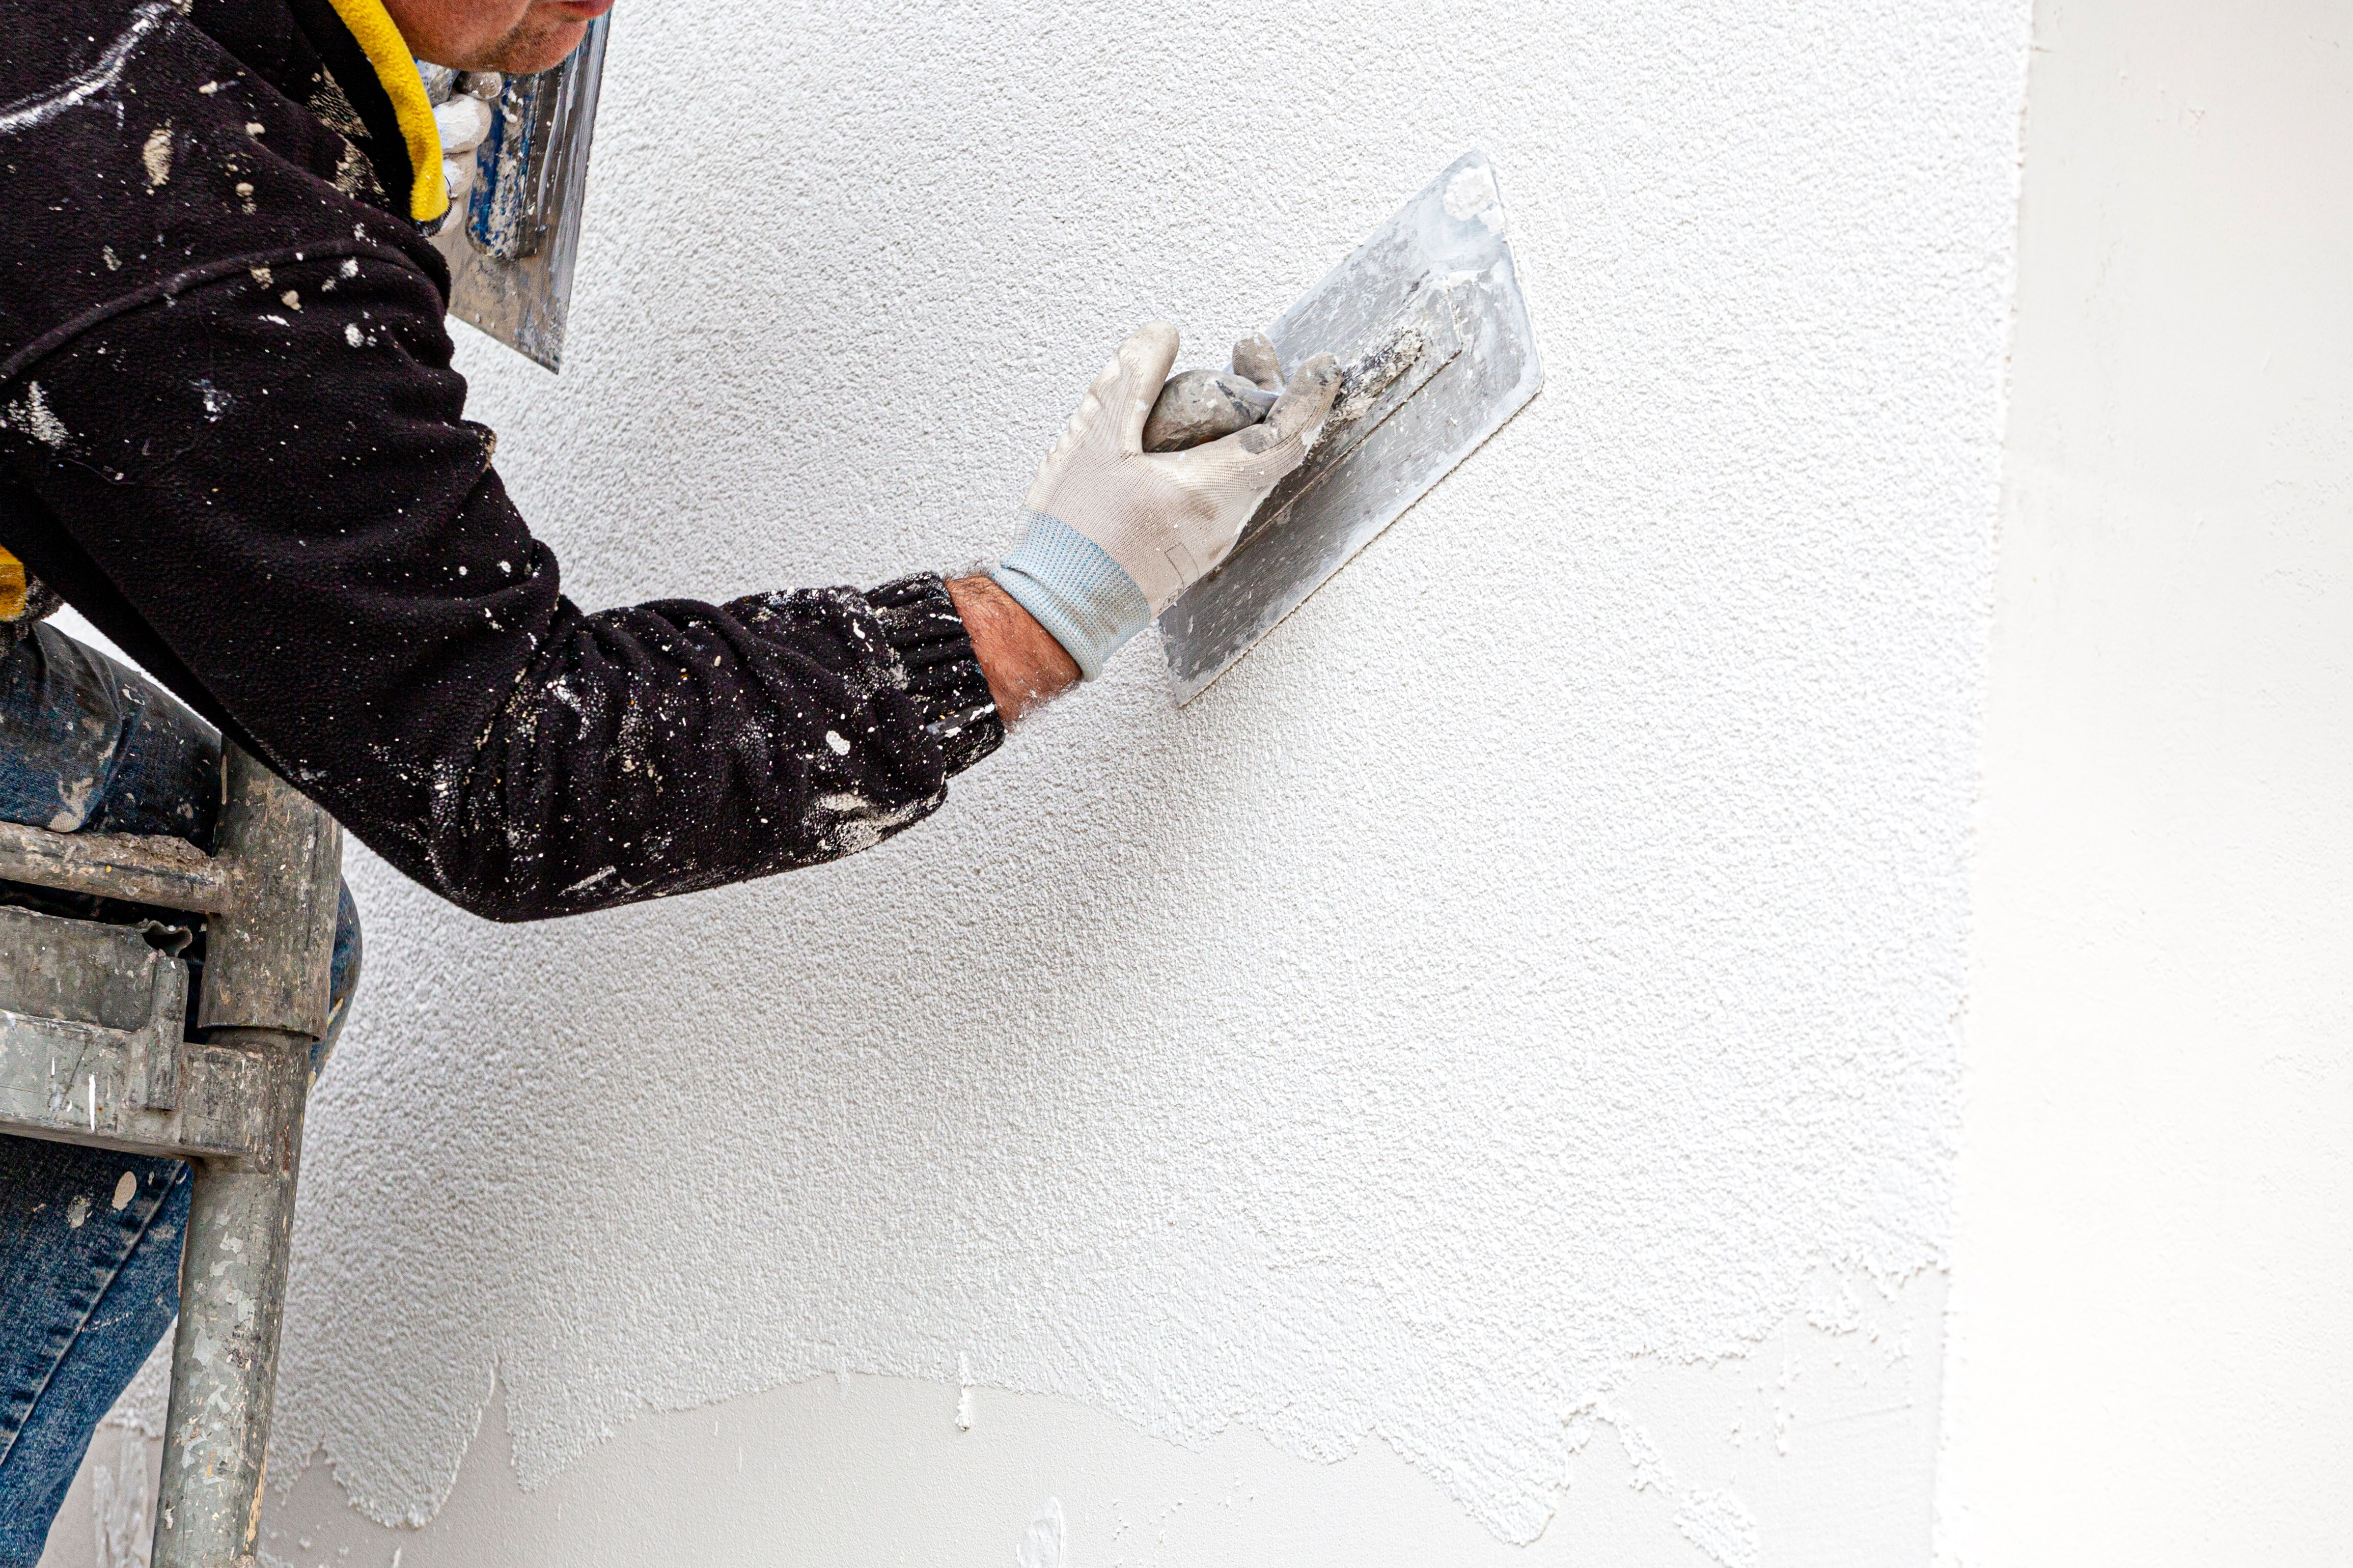
Once your surface is prepped, pay close attention during the application of the coating. Here are some tips:
- Even Coverage: Ensure that the coating is applied evenly across the surface. Look out for any missed spots or streaks.
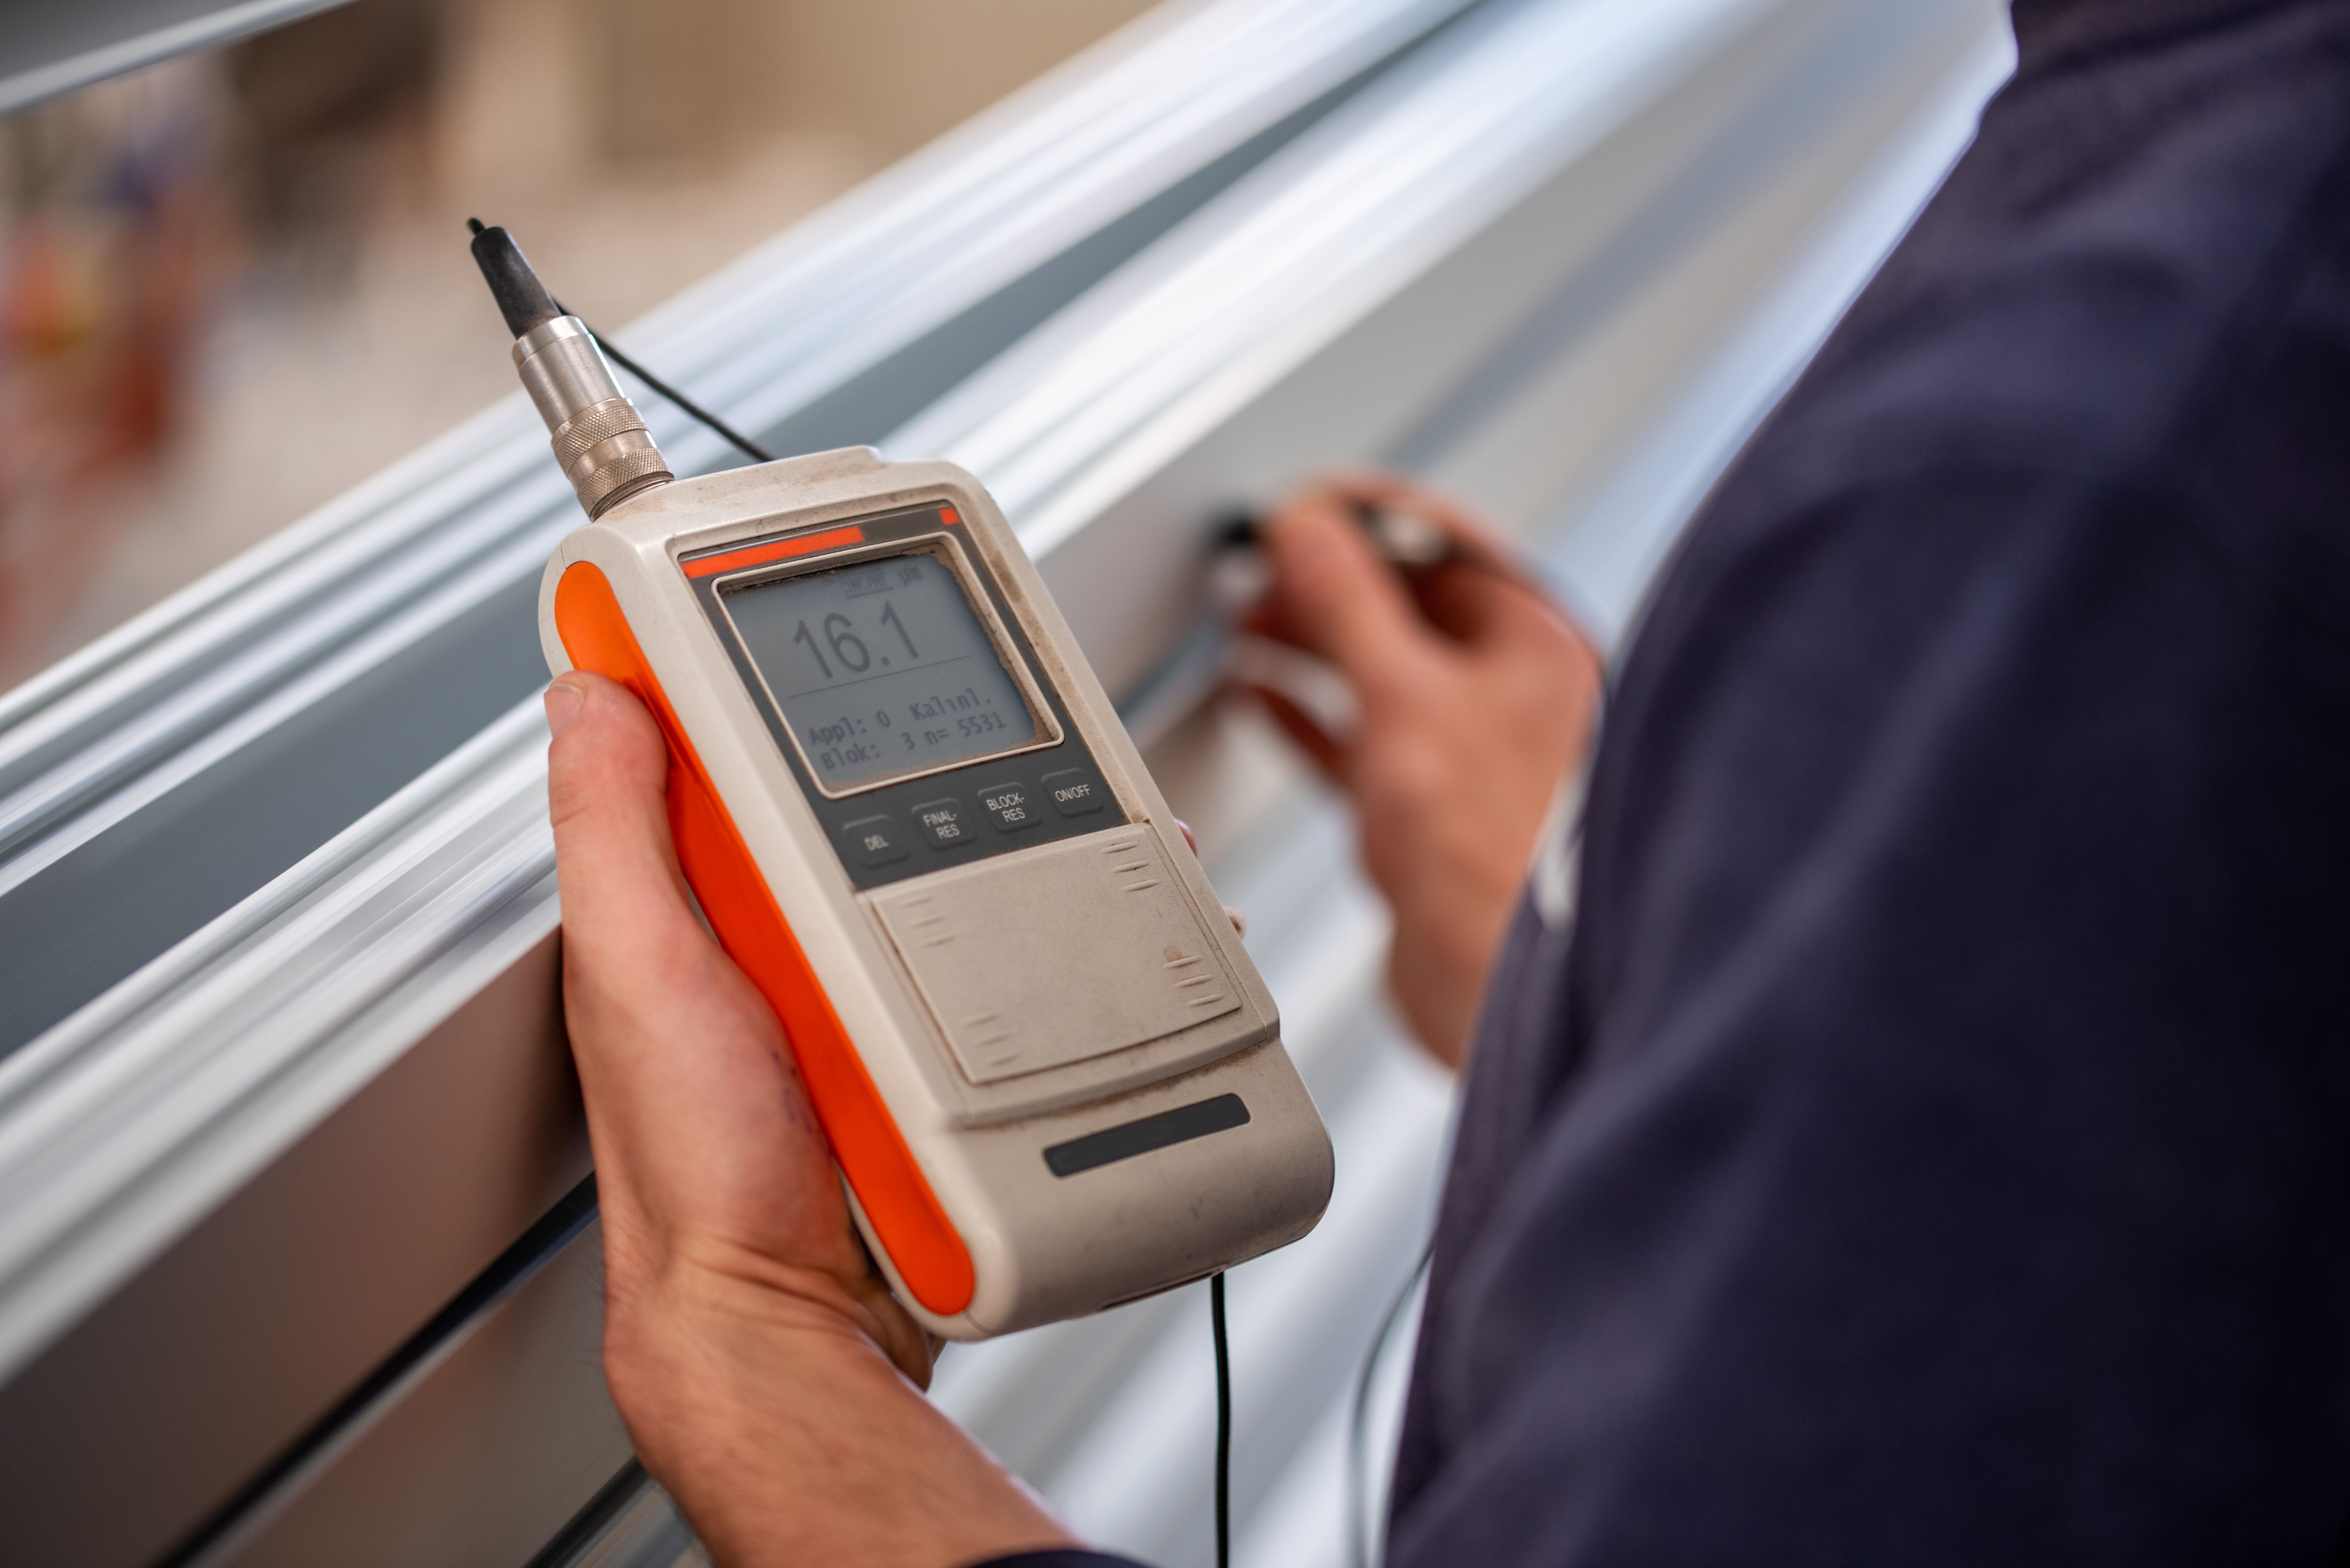
- Correct Thickness: Use a wet film thickness gauge to measure the coating's thickness immediately after application.
- Environmental Conditions: Check temperature and humidity levels as they can affect drying time and adhesion.
Checking for Defects
During and after application, inspect the coating for defects such as runs, sags, or pinholes. If you spot any issues, it is usually easier to fix them while the coating is still wet. Use a brush or roller to smooth out any uneven areas.
Curing and Final Inspection
The curing phase is critical as it determines the final hardness and durability of the coating. Follow these steps for inspection during this phase:
- Avoid Disturbance: Allow adequate time for the coating to cure without disturbance according to the manufacturer's instructions.
- Final Assessment: Inspect the coating under good lighting conditions for uniformity in color and finish.
- Adhesion Test: Perform an adhesion test if possible to ensure the coating bonds well with the surface.
A successful DIY coating project depends significantly on diligent inspection at each stage. By following these tips, you can achieve a professional-looking finish that stands the test of time.
