DIY Coating Inspection: What Homeowners in Auckland Should Look For


Understanding the Importance of Coating Inspection
As a homeowner in Auckland, maintaining the integrity of your house is crucial, particularly when it comes to coatings on surfaces such as walls, roofs, and decks. These coatings not only enhance the aesthetic appeal of your home but also protect it from harsh weather conditions. Conducting a DIY coating inspection can help you identify potential issues early, saving you from costly repairs in the future.
Coating inspections are essential because they ensure that the protective layers on various surfaces are intact and functioning as intended. Without regular checks, you might miss signs of wear and tear that could lead to more significant problems. Moreover, understanding what to look for can empower you to maintain your home effectively.
Identifying Common Signs of Coating Damage
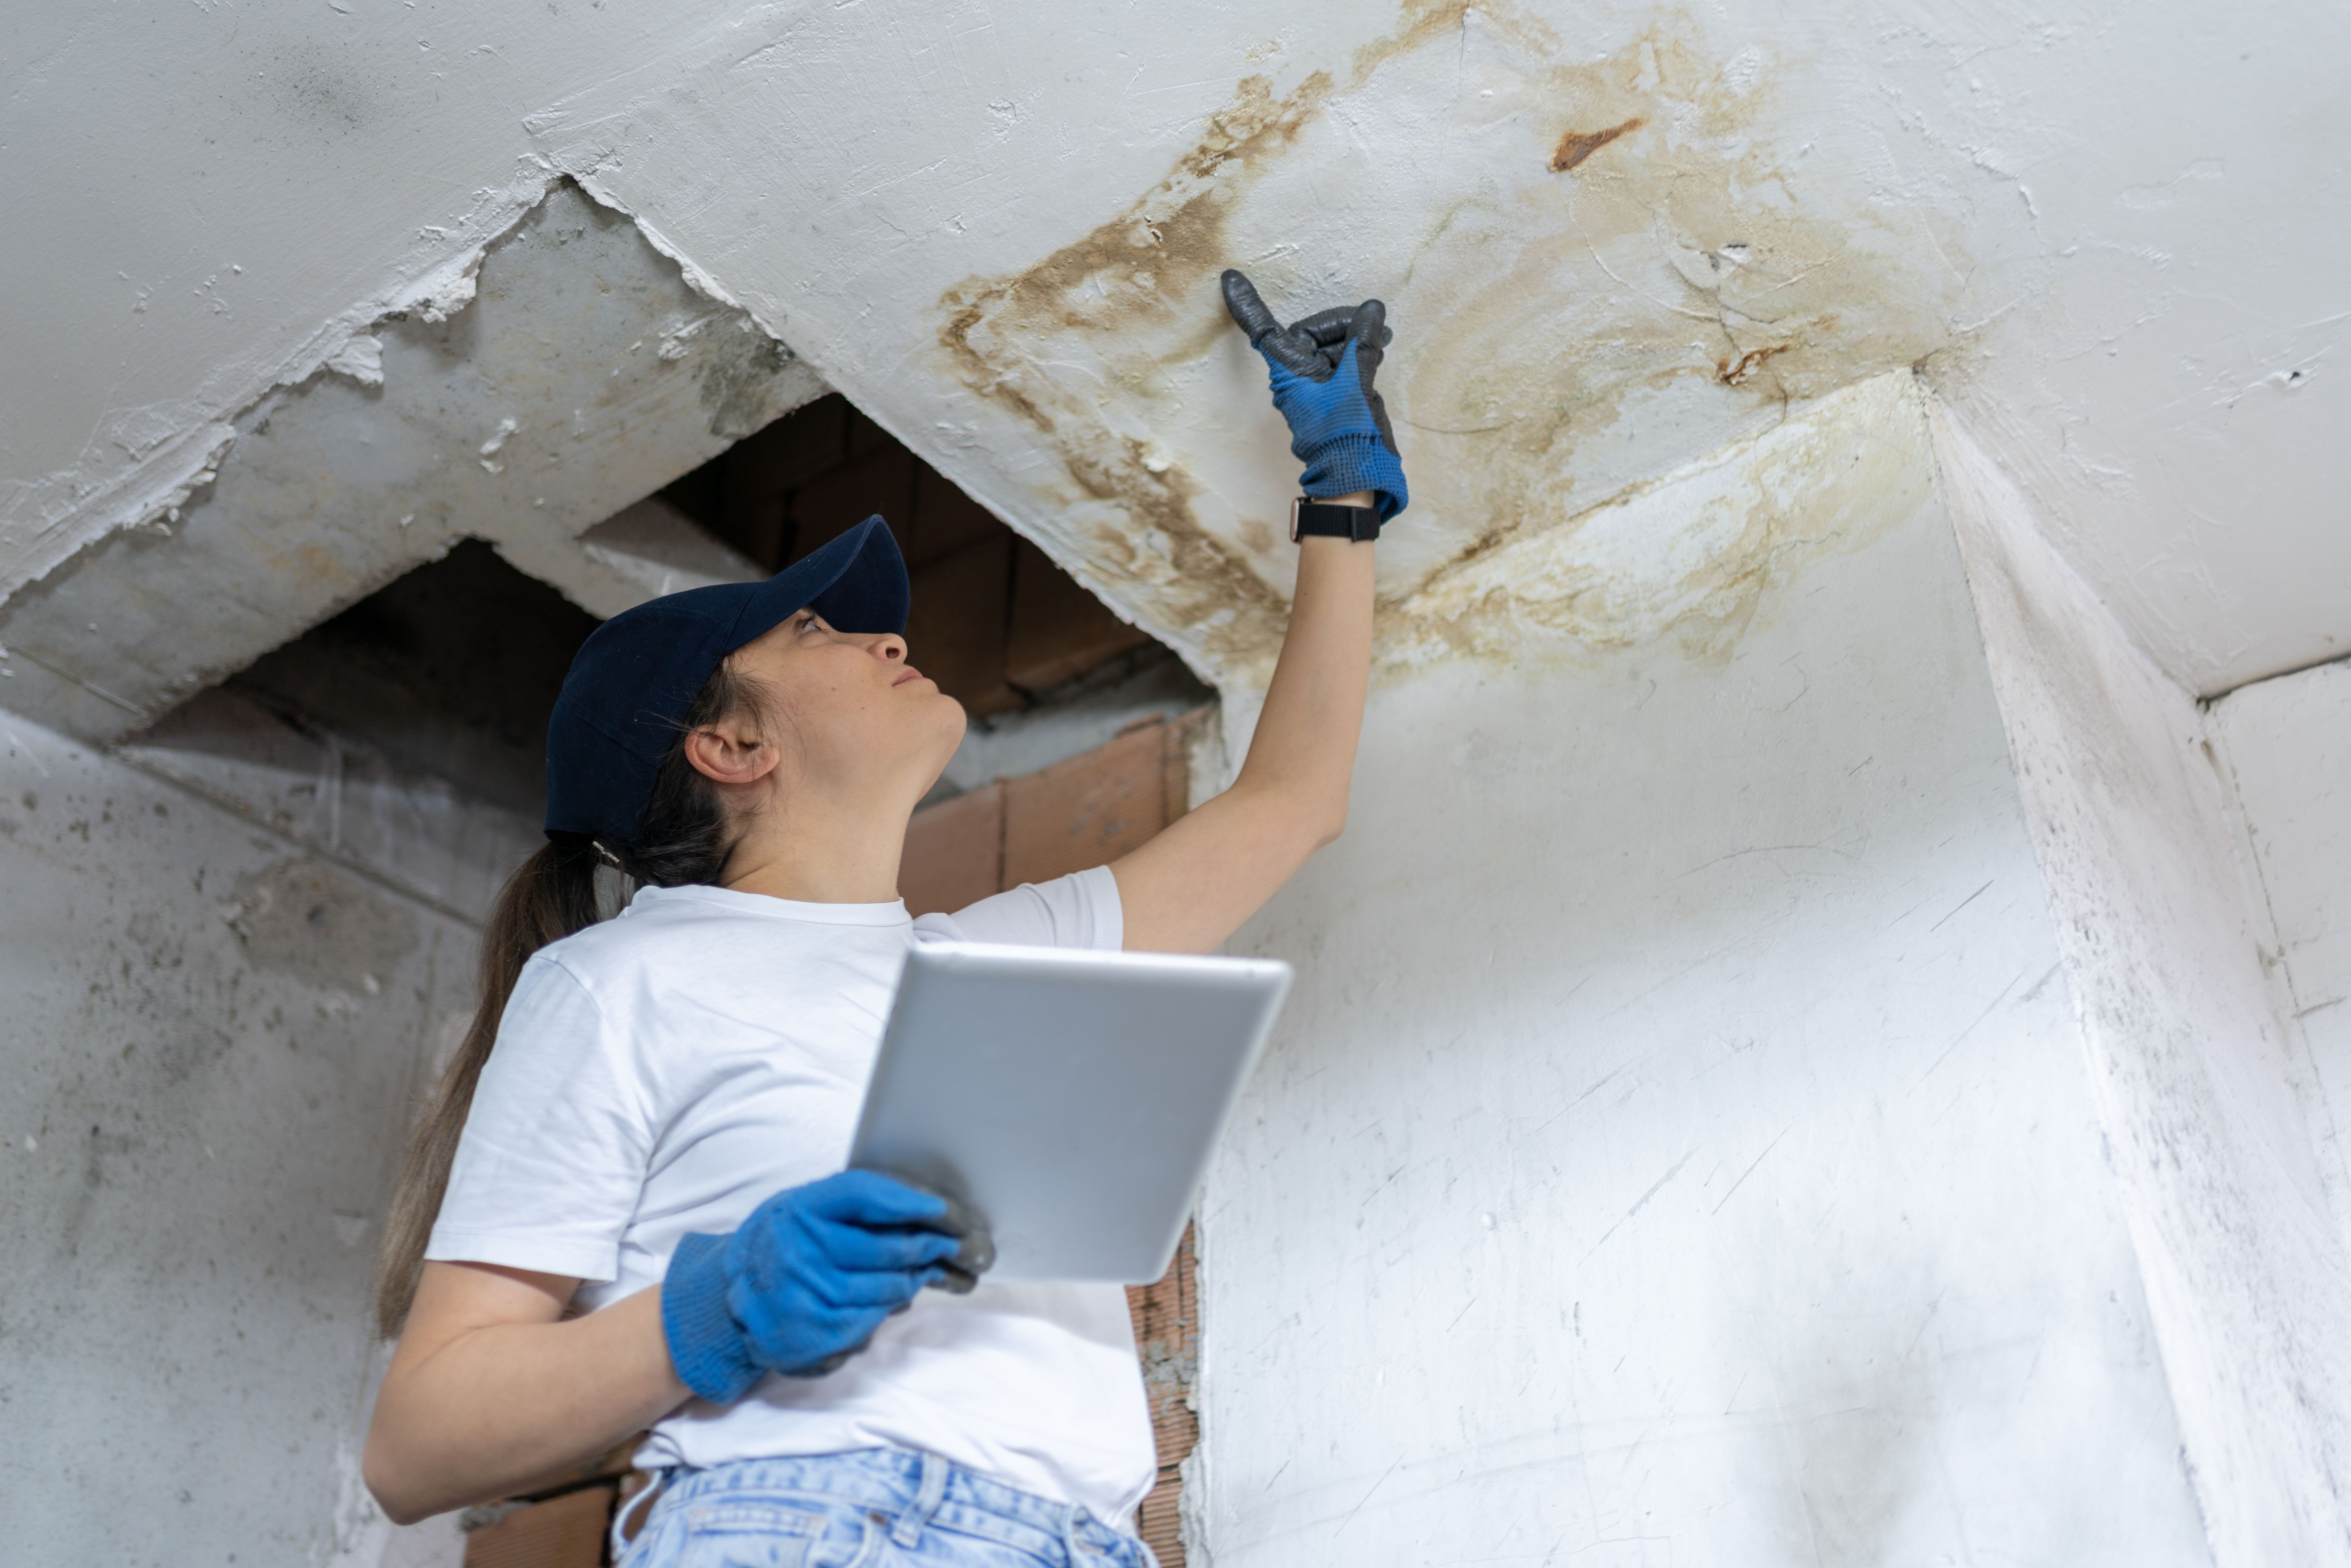
When inspecting coatings, there are several common signs of damage you should be aware of. First, look for any visible cracks or peeling, which can indicate that the coating is failing and may no longer provide adequate protection. Additionally, check for any discoloration or fading, as this could suggest UV damage or water intrusion.
Bubbles or blisters on the surface are also red flags, often caused by moisture trapped beneath the coating. This can lead to further degradation if not addressed promptly. Therefore, during your inspection, make sure to pay close attention to these details to ensure your home's longevity.
Tools You Might Need for Inspection
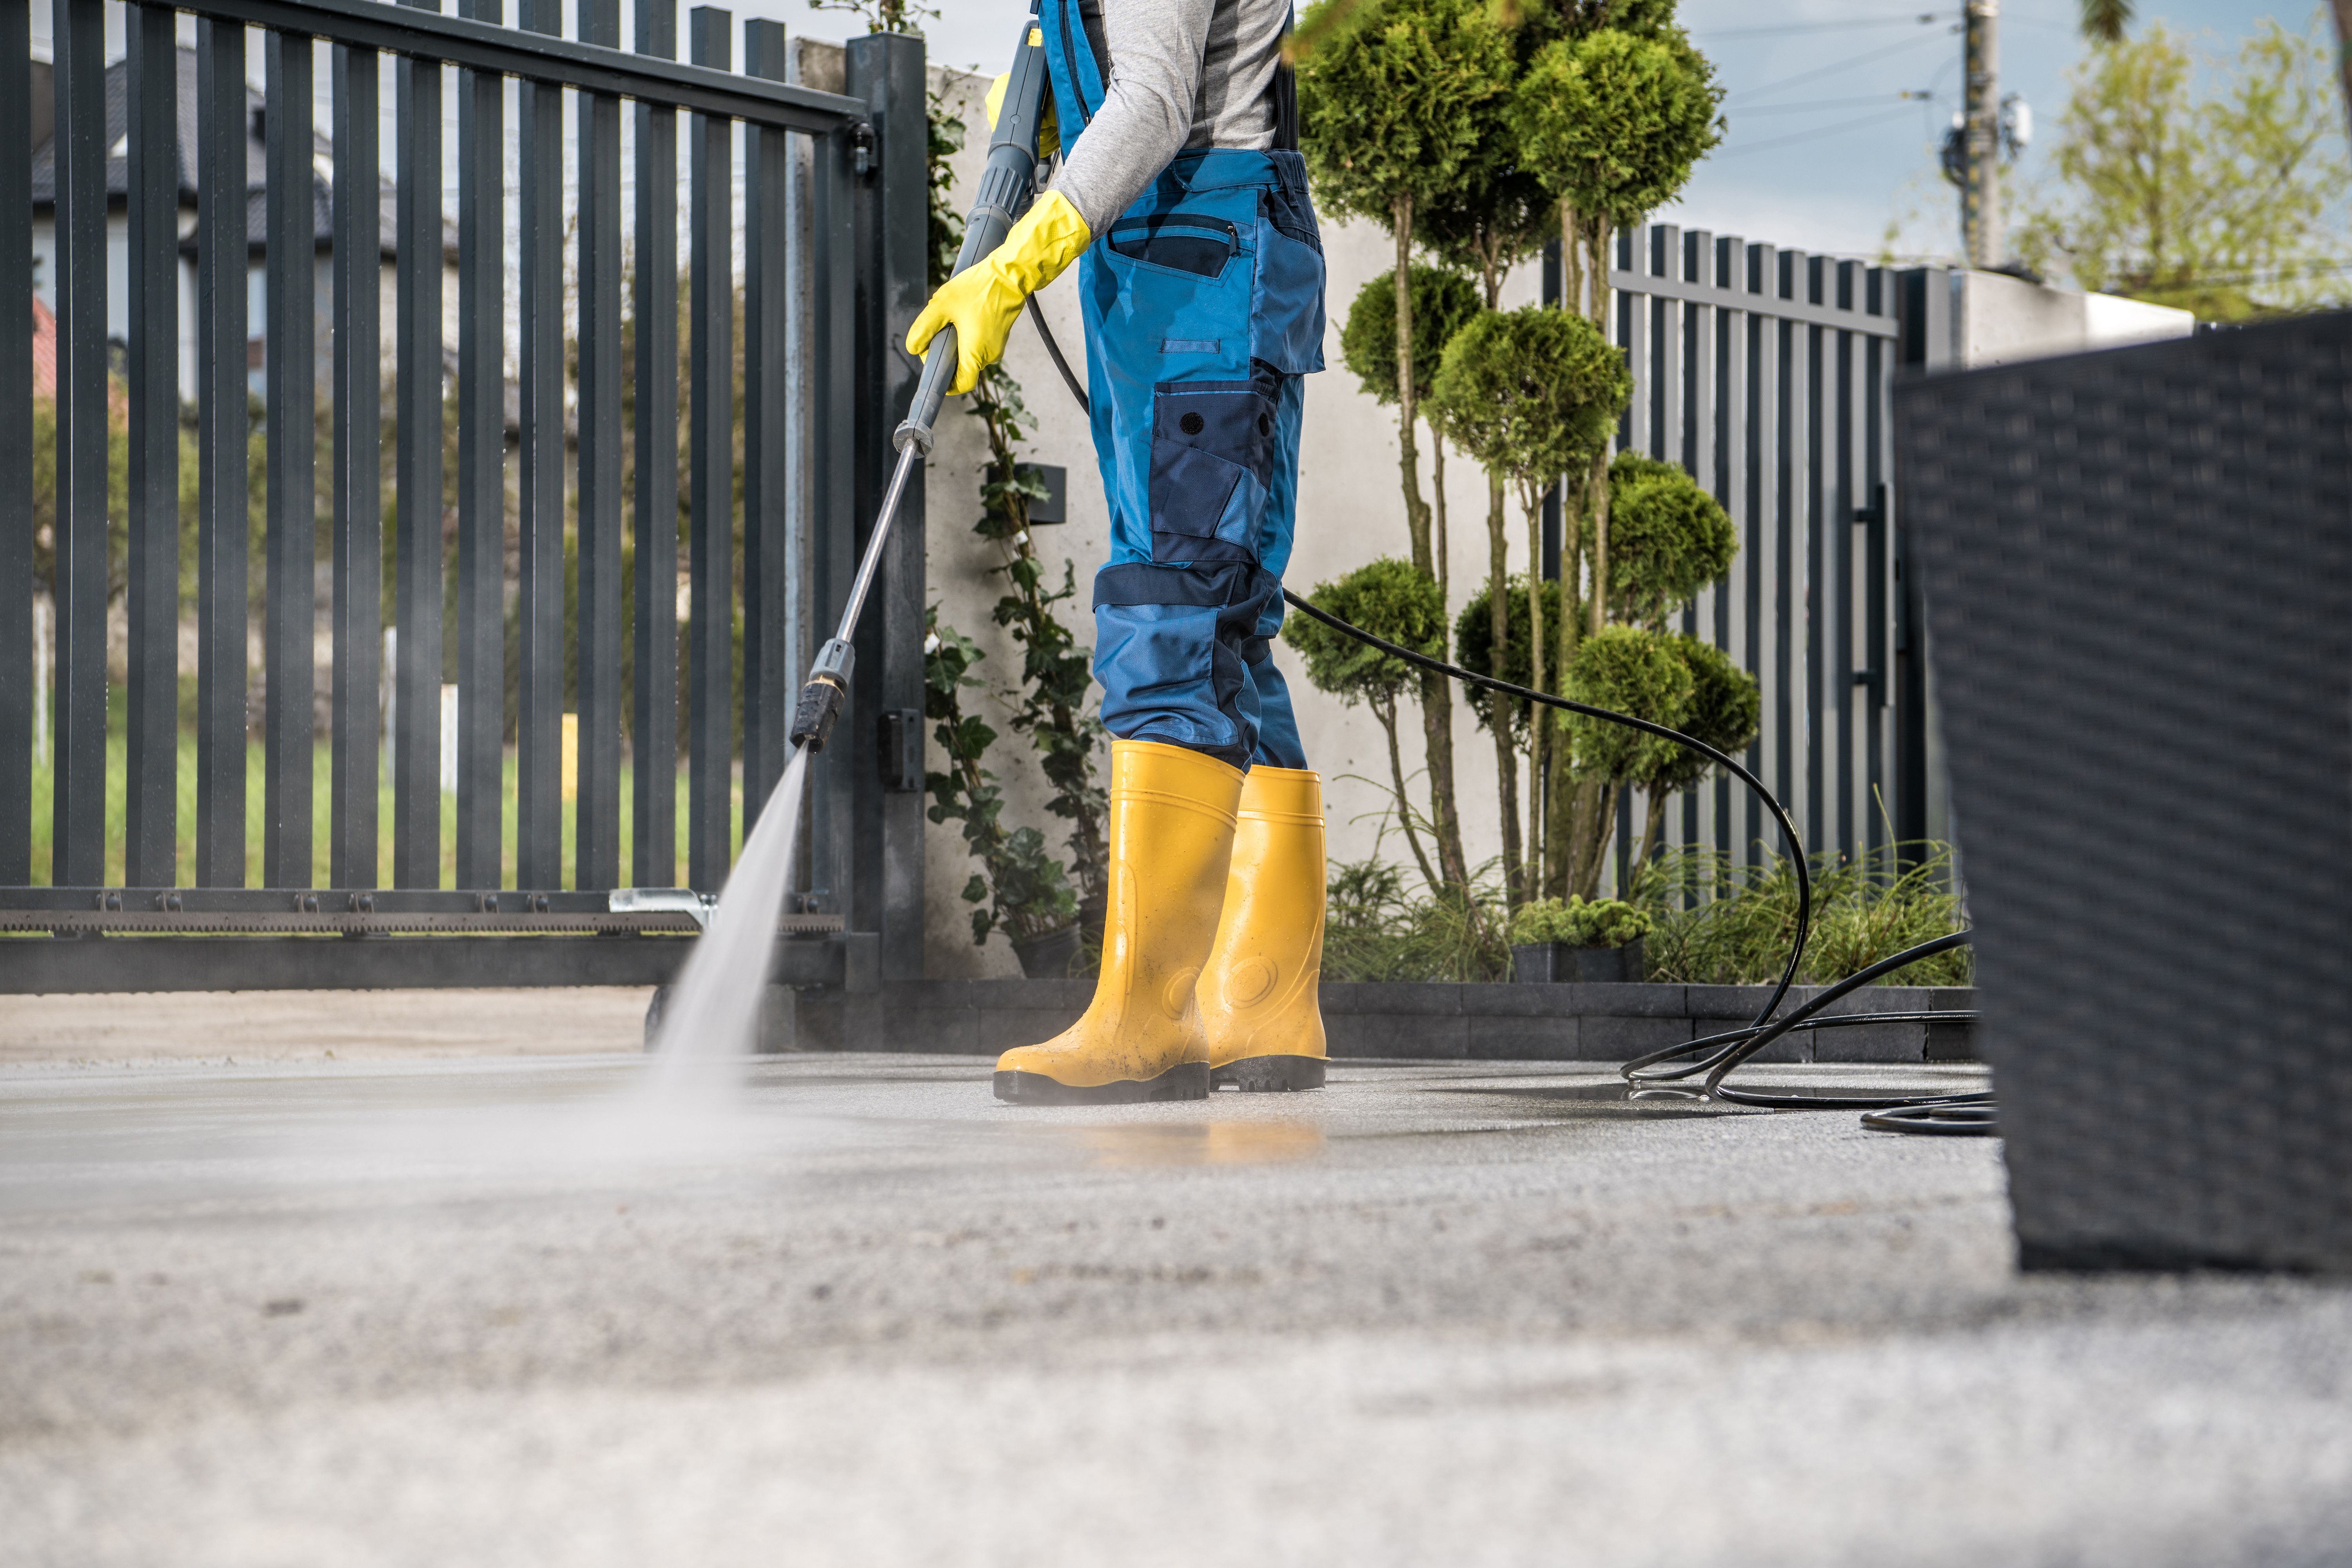
Conducting a thorough DIY coating inspection requires some basic tools. A flashlight can help you spot imperfections in low-light areas, while a moisture meter is useful for detecting dampness in walls or wood surfaces. A magnifying glass might also be handy for closely examining small cracks or blisters.
For more advanced inspections, consider using a ladder to reach high areas safely, and bring along a notepad or smartphone to document any issues you find. This will help you keep track of areas that need attention and assist in communicating with professionals if needed.
Steps for Conducting a DIY Coating Inspection
Conducting a DIY coating inspection involves a series of steps that ensure you cover all bases. Here's a simple checklist:
- Visual Inspection: Walk around your home and visually inspect all coated surfaces for cracks, peeling, or discoloration.
- Touch Test: Gently touch the surfaces to check for any unusual softness or stickiness that might indicate moisture problems.
- Moisture Check: Use a moisture meter on suspect areas to detect any hidden dampness.
- Record Findings: Document any issues with photographs and notes for future reference or professional evaluation.
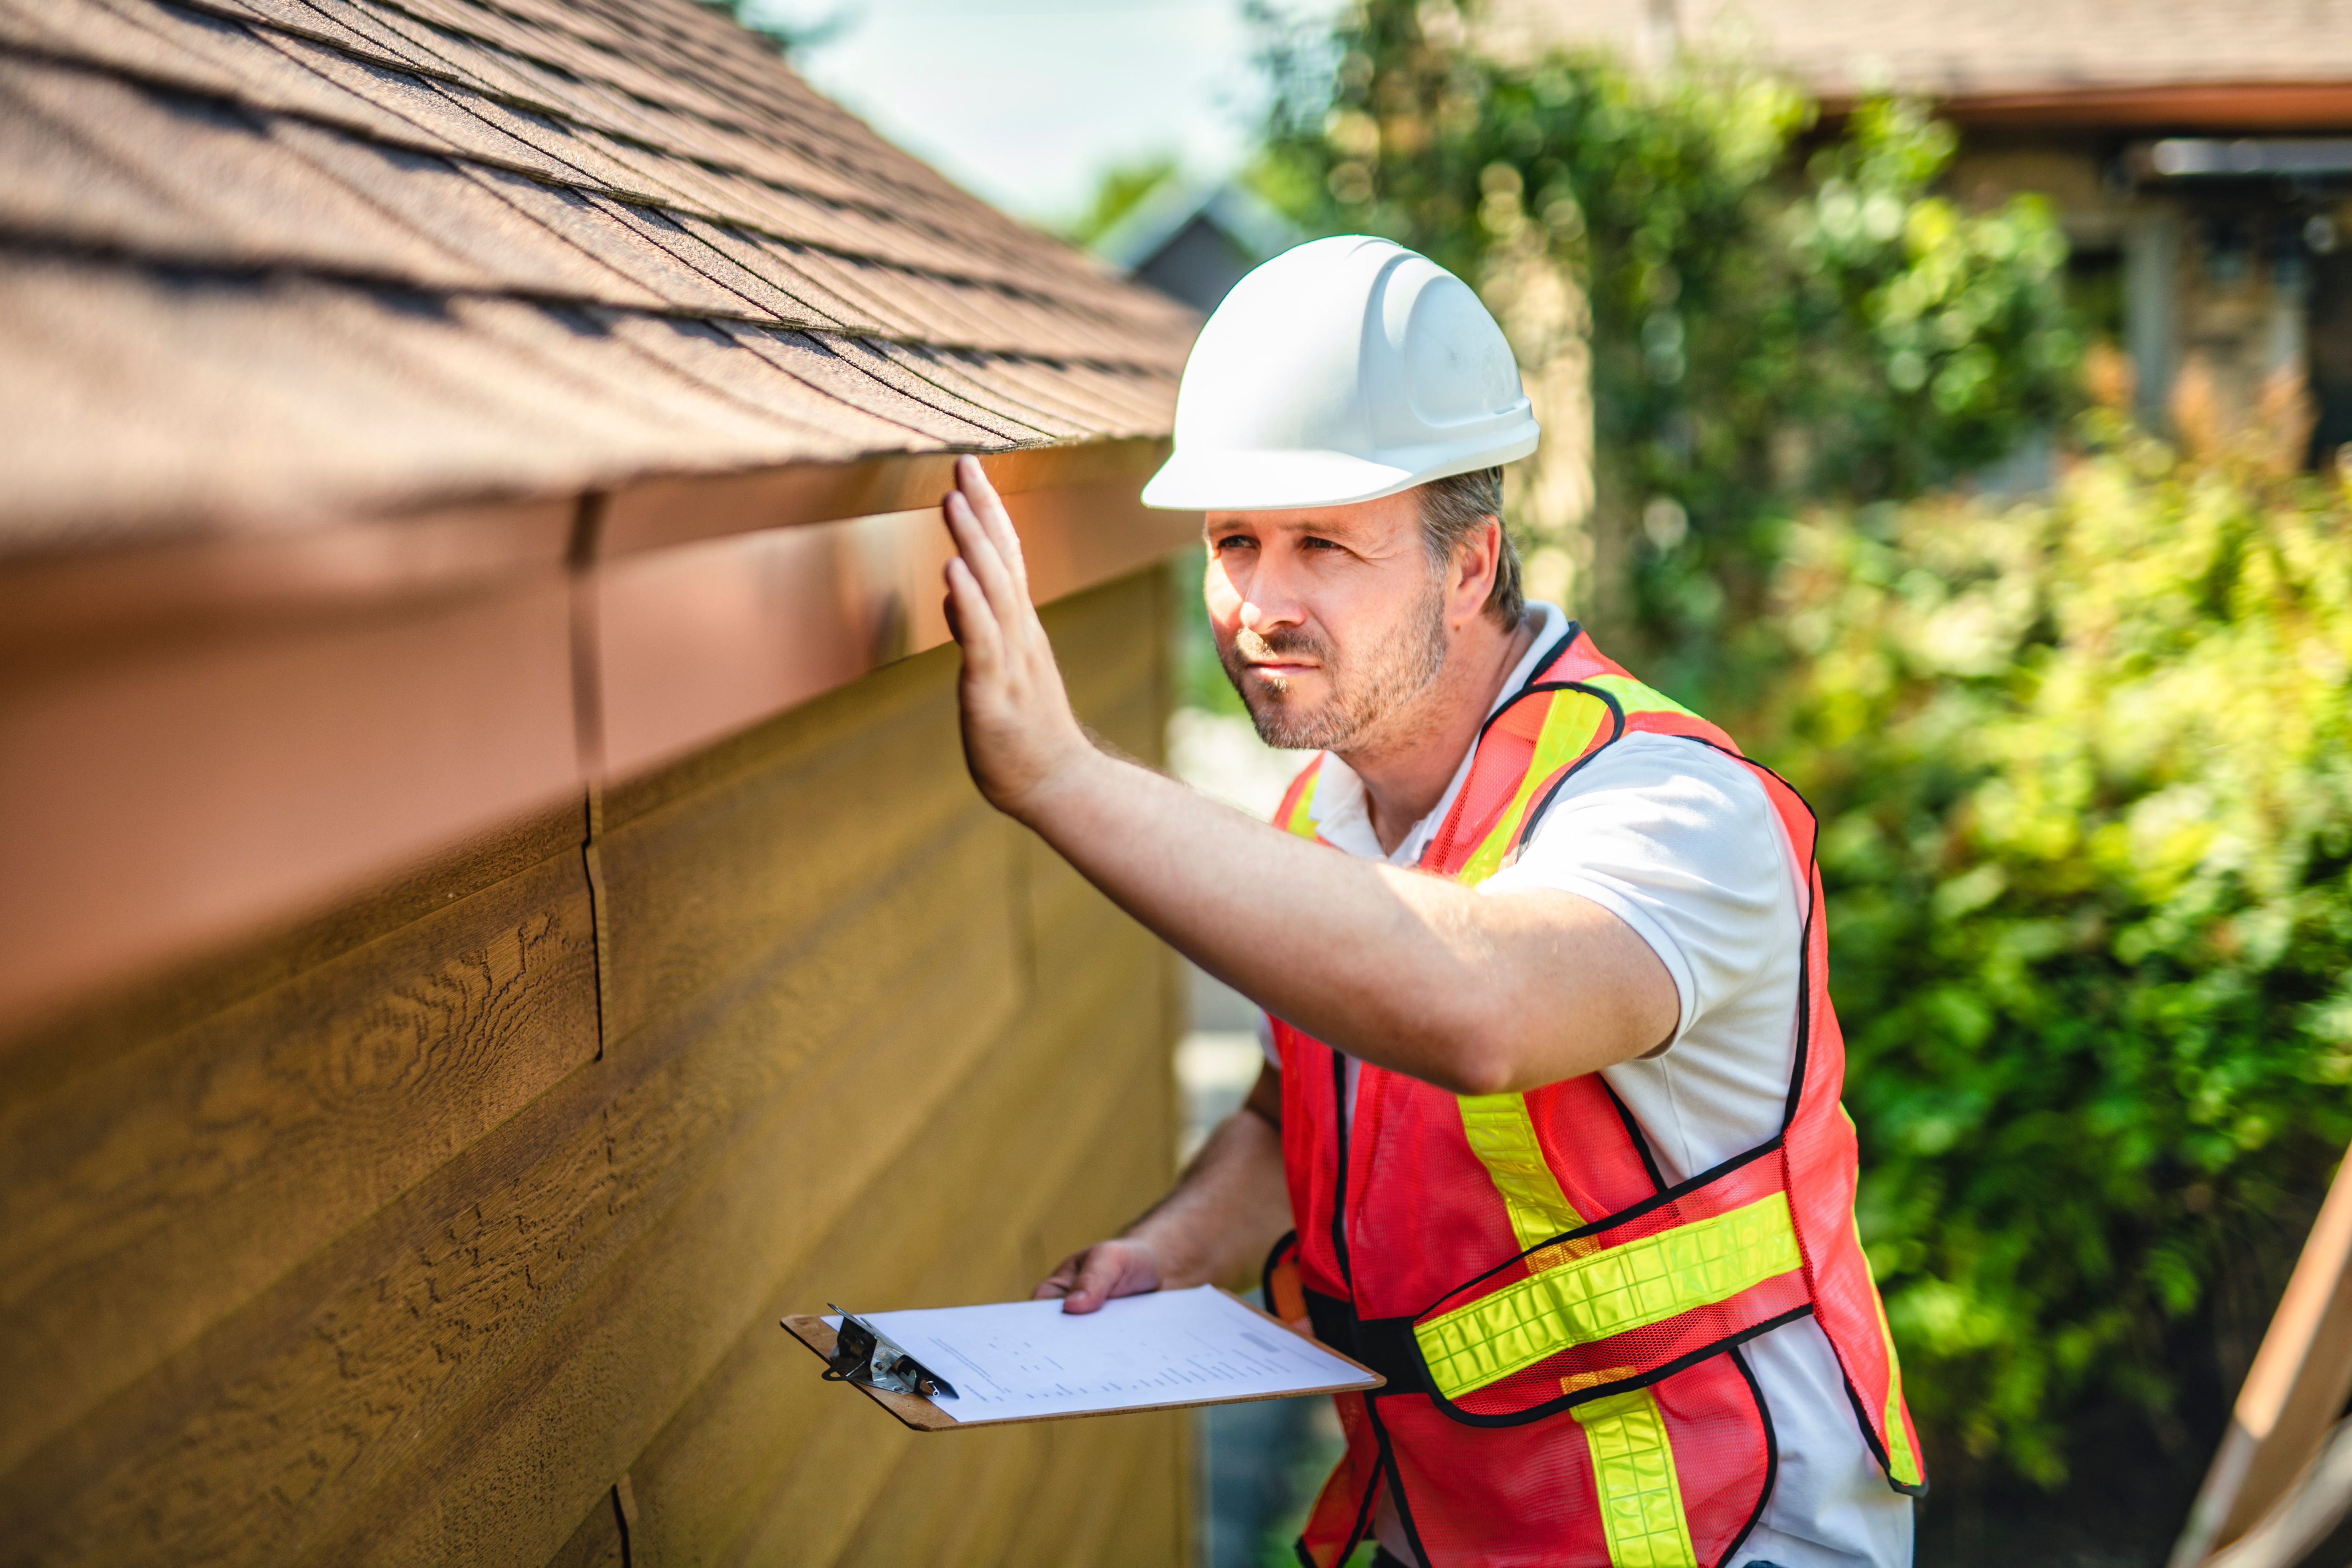
When to Call in the Professionals
While DIY inspections are beneficial, there are times when calling in a professional is necessary. If you notice extensive damage or you're unsure about the severity of an issue, it's wise to seek expert advice. Professionals have the experience and tools to conduct a comprehensive assessment and recommend appropriate solutions.
Additionally, if you're planning to repaint or recoat surfaces, a professional inspection can ensure the new layer adheres properly and lasts longer. This proactive approach can prevent potential problems and enhance your home's value.
Maintaining Your Coatings for Longevity
Once you've completed your inspection and addressed any issues, it's essential to maintain your coatings to extend their lifespan. Regular cleaning can prevent dirt build-up and mold growth, which can compromise the coating's effectiveness.
Consider scheduling routine inspections every six months to stay ahead of potential problems. By fostering a habit of regular maintenance and prompt repair, you'll protect your home from the elements and preserve its charm.